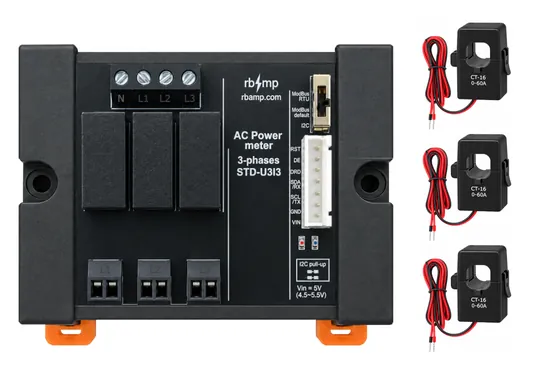
STD-U3I3
Three-phase energy meter for DIN rail
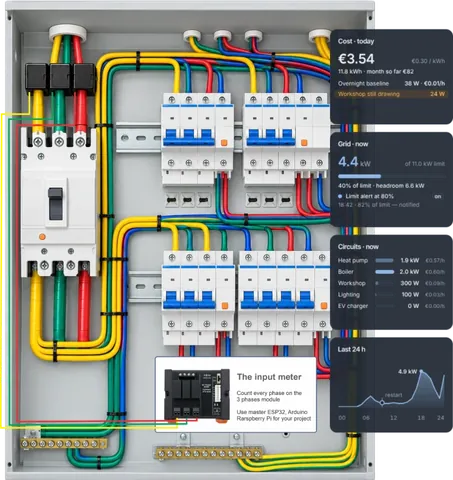
Start with one rbAmp module on your own controller, and grow to a whole-panel system without replacing what you bought. Each module measures voltage, current, power and energy on individual circuits.
01 / Start here
02 / How it fits
Start with one module and add a meter. Nothing you bought is replaced.
03 / STD meters
A utility meter gives one number per building. rbAmp gives one per circuit, per tenant, per charger.
STD metersKept and saved every second on the meter.
Two counters, not a balance.
Current in microamperes, energy in microwatt-hours.
Signed image; metering continues during the update.
Source: Docs › STD › Energy and periods
Three-phase energy meter for DIN rail
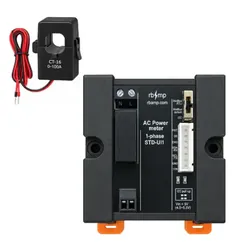
Single-phase energy meter for DIN rail
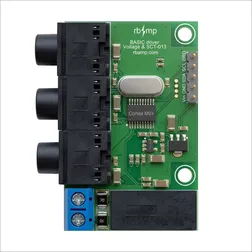
One to seven circuits per board, for your own controller
05 / Your first project
A BASIC SCT-UI3 module, and what else you need:
06 / Your stack
ESPHome · BASIC SCT-UI1 + SCT-013 · ESP32 · I²C
rbamp:
  id: meter1
  address: 0x50
  ct_model: SCT_013_030

sensor:
  - platform: rbamp
    rbamp_id: meter1
    voltage:
      name: "Mains Voltage"
    current:
      name: "Mains Current"
    power:
      name: "Mains Power"
    energy:
      name: "Mains Energy"
Source: rbamp-esphome README · Quick start
ESP-IDF · BASIC SCT-UI1 + SCT-013 · ESP32 · I²C
rbamp_handle_t dev;
ESP_ERROR_CHECK(rbamp_new(bus, 0x50, &dev));
ESP_ERROR_CHECK(rbamp_begin(dev));
ESP_ERROR_CHECK(rbamp_set_sensor_class(dev,
                RBAMP_SENSOR_SCT013));
ESP_ERROR_CHECK(rbamp_set_ct_model(dev, 3));

rbamp_snapshot_t s;
if (rbamp_read_all(dev, &s) == ESP_OK) {
    ESP_LOGI("app", "P=%.1f W", (double)s.power[0]);
}
Source: rbamp-esp-idf README · Quick start
Arduino · BASIC SCT-UI1 + SCT-013 · ESP32 · I²C
#include <Wire.h>
#include <RbAmp.h>

RbAmp dev(Wire, 0x50);

dev.setSensorClass(RbAmpSensorClass::Sct013);
dev.setCTModel(RbAmpCTModel::Sct013_030);

RbAmpPeriodSnapshot snap;
if (dev.readPeriodSnapshot(snap)) {
    Serial.println(snap.avg_p[0]);
}
Source: rbamp-arduino README · Quick start
Python · BASIC SCT-UI1 + SCT-013 · Raspberry Pi · I²C
from smbus2 import SMBus
from rbamp import RbAmp, RbAmpSensorClass

with SMBus(1) as bus:
    with RbAmp(bus, 0x50) as dev:
        dev.set_sensor_class(RbAmpSensorClass.SCT_013)
        dev.set_ct_model(3)
        print(f"P[0] = {dev.power[0]:.2f} W")
Source: rbamp-python README · Quick start
STD over Modbus RTU · UART TTL, RS-485 through an external transceiver
# float32 profile: total P (float)
mbpoll -m rtu -b 9600 -P none -a 1 -0 -1 -o 2 \
  -t 3:float -B -r 52 -c 1 <port>

# float32 profile: frequency, import kWh, export kWh (float)
mbpoll -m rtu -b 9600 -P none -a 1 -0 -1 -o 2 \
  -t 3:float -B -r 70 -c 3 <port>
Source: STD docs · Examples
07 / Platform
Two wires from one circuit to a whole panel.
begin() detects the line and the channel count.
Published, versioned register maps.
The whole panel frozen at one instant over the bus.

08 / Growth
BASIC or STD on your own ESP32, Arduino or Raspberry Pi.
STD also standalone over Modbus RTU.
Home Assistant, your SCADA, or your own code.
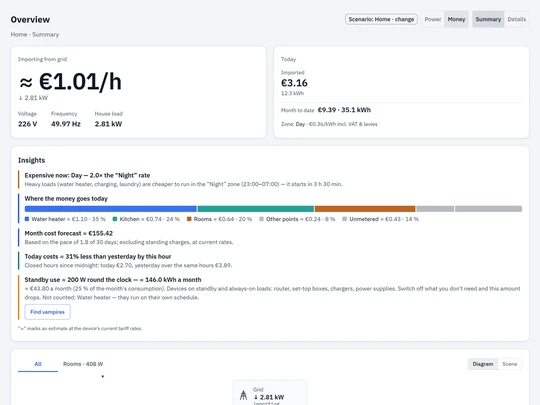
09 / RBgrid
Put an ESP32 hub next to your rbAmp modules and RBgrid shows what every measured circuit costs — right now, today and this month — on your own tariff zones. It runs on the hub: no account, no cloud, no subscription. If you run Home Assistant, it stays as it is: the hub plugs into it over MQTT. The hub firmware is source-available, free for personal and non-commercial use.